Quilling, the art of coiling and shaping narrow paper strips into stunning decorative designs, offers a gateway to creativity and relaxation. This beginner’s guide to quilling dives deep into the essentials, offering guidance on the tools, techniques, and projects that will turn novices into adept quillers. From understanding the history and significance of quilling to setting up your workspace, and finally crafting your first quilled masterpiece, this course covers all you need to embark on this rewarding artistic journey.
Lesson 1

Introduction to Quilling: A Beginner’s Guide
Welcome to the beguiling world of quilling, a craft where simplicity meets intricacy to create stunning paper art. Quilling, or paper filigree, involves rolling, shaping, and gluing thin strips of paper to make decorative designs. In this guide, you’ll embark on an explorative journey, uncovering the essentials of quilling, its rich history, and the basic tools and materials you’ll need to start your quilling adventure.
What is Quilling?
Quilling is more than just a craft; it’s an art form that has captivated hearts and minds for centuries. By manipulating strips of paper into different shapes and patterns, artists create beautiful, mesmerizing pieces ranging from simple designs to elaborate artworks.
A Brief History of Quilling
The origins of quilling trace back to the Renaissance period, where French and Italian nuns and monks used quilling to decorate book covers and religious items. Since then, quilling has evolved, becoming a beloved hobby for crafters around the world.
Essential Tools and Materials for Quilling
Embarking on your quilling journey requires a few basic tools and materials, which are both affordable and easy to find. Here’s what you’ll need:
- Quilling Paper Strips
- Slotted Quilling Tool
- Tweezers
- Glue
- Ruler
Different Types of Quilling Paper
Quilling paper comes in various widths and colors. The choice of paper can add texture and depth to your creations, making each piece uniquely yours.
Introduction to Basic Quilling Shapes and Techniques
Mastering a few fundamental shapes and techniques is the first step toward creating intricate quilling art. These include the tight coil, loose coil, teardrop, marquise, and the Heart shape. Perfecting these basic shapes will prepare you for more advanced designs.
In conclusion, quilling is a captivating and rewarding hobby that allows for boundless creativity. With a brief look at its history, an understanding of the necessary tools and materials, and an introduction to basic quilling shapes and techniques, you’re now ready to start your journey into the world of quilling. The possibilities are endless, and your creations will be as unique as you are.
Lesson 2

Preparing for Your First Quilling Project
Diving into the world of quilling is an exciting adventure. As you ready yourself for crafting beautiful quilled designs, it’s essential to gather the right tools and materials while understanding how to select the best quilling paper and effectively set up your workspace.
Setting Up Your Quilling Workspace
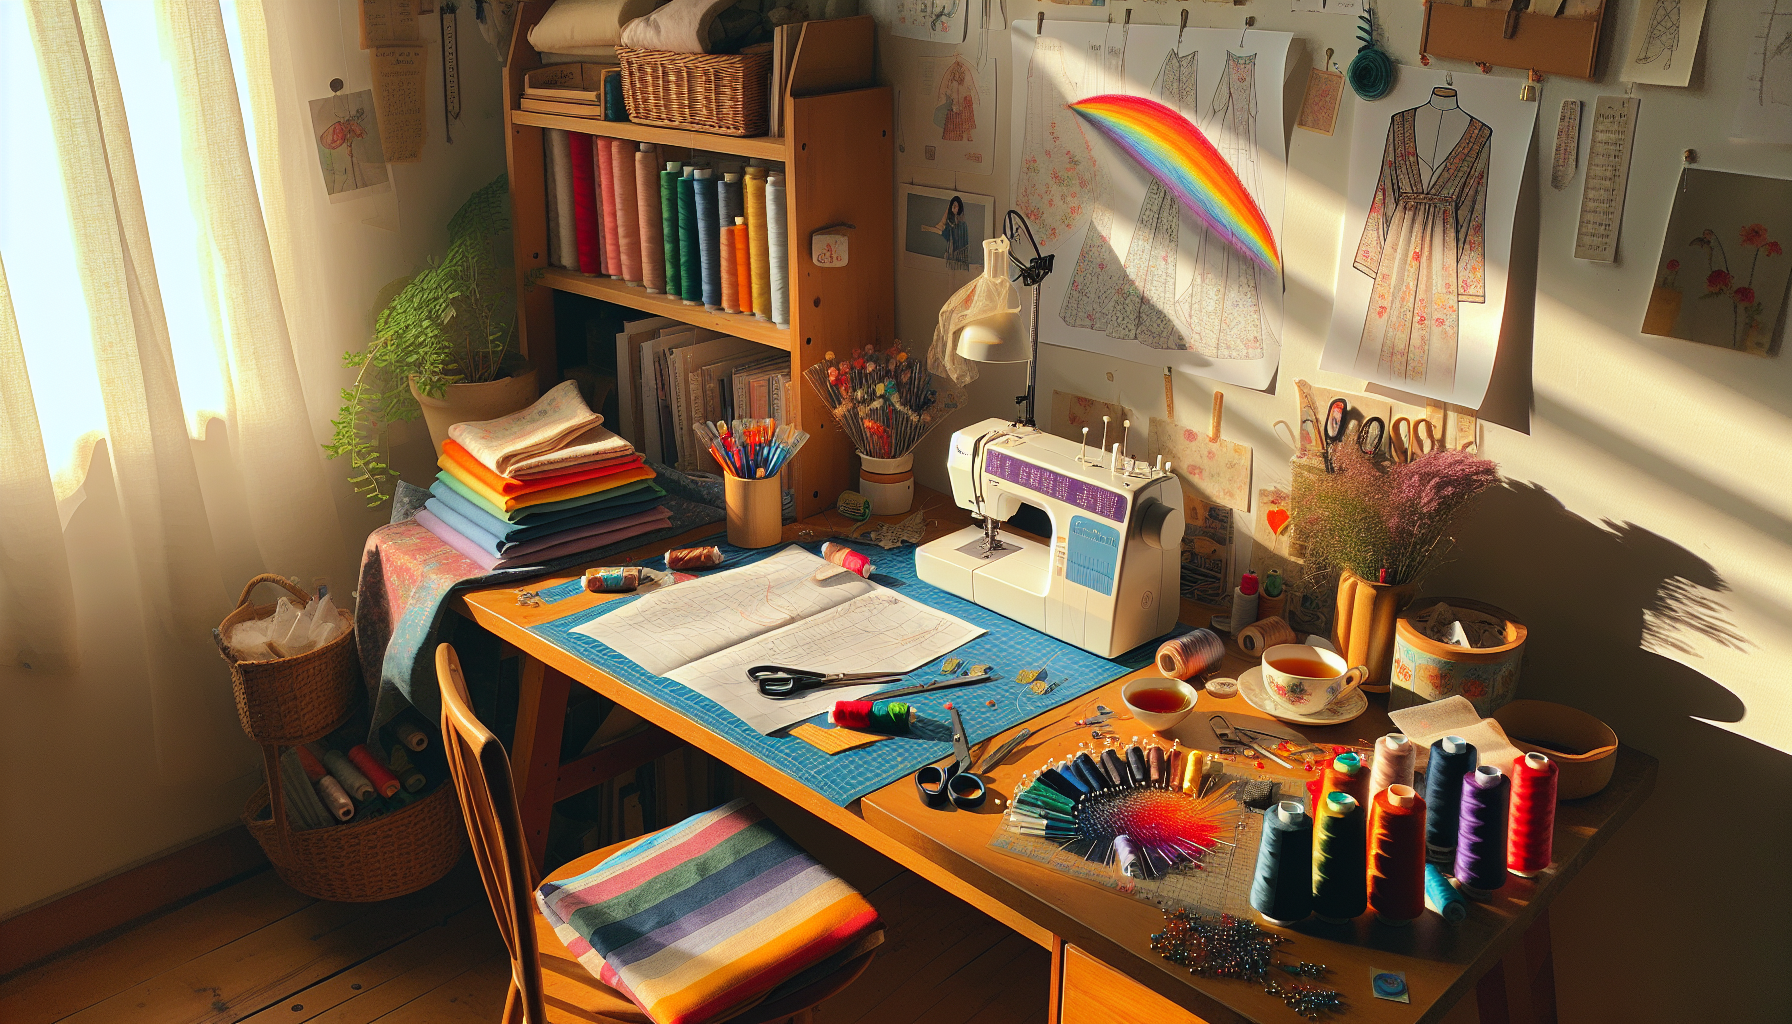
A comfortable and well-organized workspace is key to a pleasant quilling experience. Ensure your area is well-lit, preferably with natural light, and keep all your quilling tools within easy reach. Consider using compartmentalized storage to keep your paper strips and tools organized.
Choosing the Right Quilling Paper
Quilling paper is the heart of your craft. Available in various widths—ranging from 1/16 inch to 1 inch—different projects might require different paper sizes. While wider strips are perfect for making bolder designs, narrower strips are ideal for detailing. Also, consider the weight and color of the paper; vibrant, high-quality paper will elevate the look of your finished piece.
Essential Tools of the Trade
- Slotted Quilling Tool: Ideal for beginners, allowing for easier coiling of the paper strips.
- Needle Tool: For more advanced quillers, offering more control and tighter coils.
- Tweezers: A must-have for placing delicate coils into your design with precision.
- Glue: A fine-tip glue bottle can ensure you apply just the right amount without mess.
Making Basic Quilling Shapes
Starting with basic shapes is the foundation of quilling. Practice crafting tight coils, loose coils, teardrops, marquises, and heart shapes. As you become comfortable, experiment by combining these shapes to form more complex designs.
Remember, quilling is not just about following patterns—it’s an art form where your creativity leads the way. Take your time, enjoy the process, and let your unique style shine through your creations.
So there you have it, your very first steps towards mastering the art of quilling. By preparing your workspace, selecting the right materials, and embracing the basics with an open heart and mind, you’re well on your way to creating exquisite quilled art that’s uniquely yours. The world of quilling awaits, and it’s yours to explore and adorn with your creativity.
Lesson 3

Crafting Your First Quilled Piece
Embarking on your first quilling project is a thrilling step into a world of creativity and precision. This lesson focuses on applying basic quilling shapes and techniques to craft a simple yet beautiful quilled design. Let’s dive into the intricacies of quilling, guiding you through each step with the aim of turning novices into confident creators.
Planning Your Quilling Project
Before you jump into quilling, it’s crucial to choose a simple design that resonates with you. Whether it’s a delicate flower or an elegant butterfly, selecting a design that aligns with your interests will make the quilling process more enjoyable and fulfilling.
Step-by-Step Guide to Creating a Basic Quilled Pattern
Every masterpiece begins with a single coil. Start by mastering basic quilling shapes, like tight coils and loose coils, which form the cornerstone of more complex designs. As you become more adept, you can explore teardrops and marquises, piecing them together to bring your chosen design to life.
Incorporating Different Shapes into Your Design
The beauty of quilling lies in the versatility of shapes you can create from simple paper strips. Experiment with combining various shapes to achieve texture and depth in your design. Don’t be afraid to play around with color combinations and spacing to see what works best for your project.
Finishing Touches: Mounting and Displaying Your Quilled Art
After completing your quilled design, the final step is to display it proudly. Carefully glue your quilled art onto a backing of your choice—a card, framed artwork, or even a shadow box. Remember, the presentation is just as important as the quilling itself, so take your time to choose a mounting that complements your work.
Care and Preservation of Quilled Art
Your quilled creations are not only artworks but cherished memories of your crafting journey. To ensure they stand the test of time, shield them from direct sunlight and consider using UV-protective glass if framing. Dusting gently with a soft brush can keep your pieces looking vibrant and fresh.
With these steps, you’re now equipped to embark on your quilling journey, transforming strips of paper into extraordinary pieces of art. Remember, quilling is all about patience, practice, and letting your creativity flow. As you progress, you’ll find that the possibilities are truly endless, with each project bringing a unique sense of accomplishment and beauty.
Quilling has unfolded as a journey from basic coiling and shaping techniques to crafting exquisitely detailed artworks, fostering both creativity and mindfulness. Through understanding the tools, mastering different quilling techniques, and completing your first project, you’re now equipped to explore further the endless possibilities quilling offers. As a final step to consolidate your newfound skills, a 10 question quiz awaits below this conclusion. Test your knowledge to see how well you’ve grasped the intricacies of quilling and prepare to embark on even more ambitious quilling adventures.
Test Your Knowledge With this short Quiz
Click here to copy your score to share on facebook!


