Revamping a vintage chair with fresh fabric is an exciting journey that combines the art of restoration with personal creativity. This course delves into the essential steps needed to breathe new life into a beloved piece of furniture. From selecting the perfect vintage chair, choosing and preparing your fabric, to the final reupholstering and adding finishing touches—each lesson is designed to guide you through the process with detailed instructions and practical tips. Whether you’re looking to upcycle an old favorite or transform a thrift store find into a custom masterpiece, this course equips you with the knowledge and skills to create a stunning piece that reflects your unique style and adds charm to any room.
Lesson 1

Revamping Your Vintage Chair
Revamping a vintage chair with fresh fabric is an incredibly rewarding project that combines creativity with sustainability. This guide will walk you through preparing your vintage chair for its makeover, ensuring you start off on the right foot.
Choosing the Right Vintage Chair
Finding the perfect vintage chair is the first step in the revamping process. Look for a chair that not only appeals to your aesthetic preferences but also is structurally sound. Vintage chairs come with their own histories, so it’s important to inspect for sturdy frame construction and potential areas that might need more attention.
Tools and Materials Needed
Gathering the right tools and materials is crucial for a smooth revamping process. You will need:
- Screwdrivers and pliers for disassembly
- Quality fabric for reupholstering
- A staple gun and staples
- Cleaning supplies
- Sandpaper and paint/varnish (optional)
Disassembling Your Chair
With your tools in hand, carefully start disassembling your vintage chair. This step often reveals more about the chair’s condition and allows for a thorough cleaning and any necessary repairs. Remember, patience is key here; preserving the chair’s integrity is our main goal.
Cleaning and Prepping the Frame
Once disassembled, clean the chair frame thoroughly. If you’re opting to repaint or varnish the wood, now’s the time. Prepping the frame properly creates a solid foundation for your new fabric.
Taking the First Steps Toward a Revamped Vintage Chair
Having followed these initial steps, you’re well on your way to breathing new life into a vintage piece. Remember, with a bit of creativity and attention to detail, you can transform an old chair into a stunning piece of furniture that tells a story.
| Step | Task | Tips |
|---|---|---|
| 1 | Choose Chair | Look for structural soundness |
| 2 | Gather Tools | Don’t forget fabric scissors |
| 3 | Disassemble | Keep all screws and bolts secure |
| 4 | Clean & Prep | Clean thoroughly before painting |
Revamping a vintage chair is not only a fulfilling venture but also a way to add personal flair to your home decor. As we’ve explored, the preparation phase is as crucial as the actual reupholstering, setting the stage for a successful transformation. With the right tools, materials, and a bit of elbow grease, your revamped vintage chair will soon be ready to debut its new look.
Lesson 2

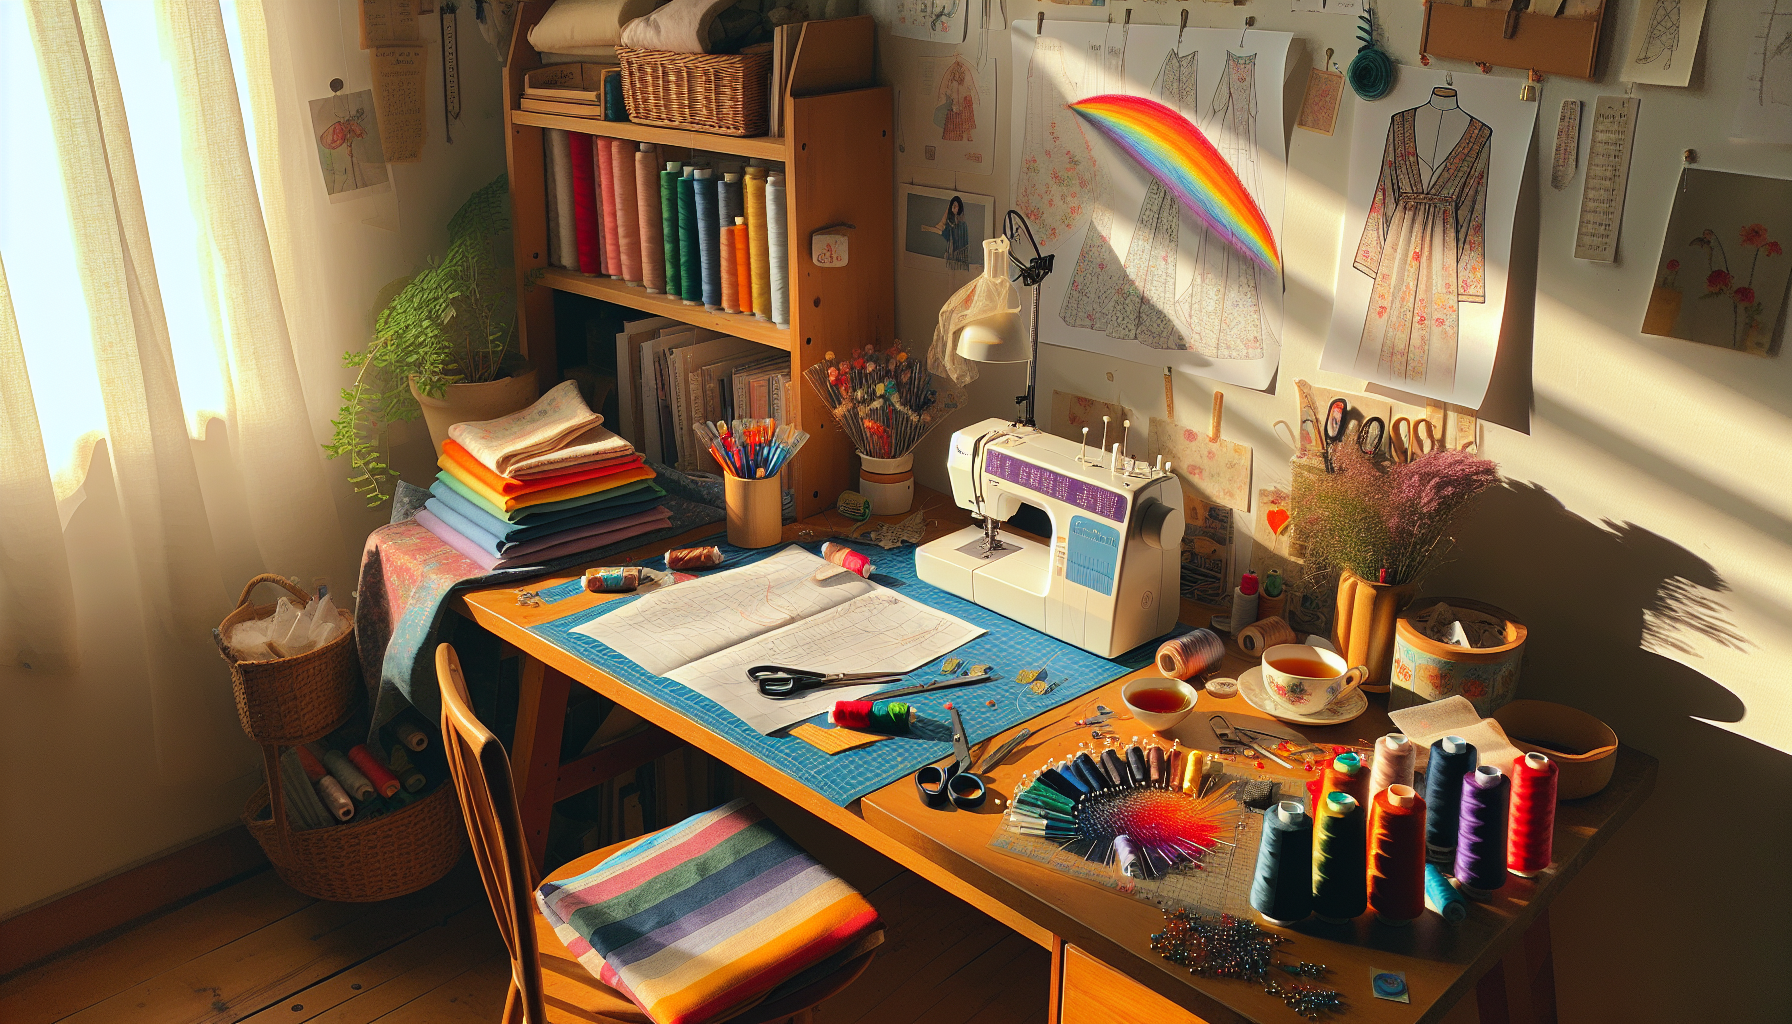
Selecting and Preparing Your Fabric
Embarking on the journey of revamping your vintage chair with fresh fabric not only breathes new life into it but also injects your personal style into your living space. The magic begins with selecting the perfect fabric—a key step that sets the tone for your project’s success. Let’s dive into the essentials of selecting and preparing your fabric for that eye-catching transformation.
Choosing the Right Fabric
The choice of fabric can dramatically alter the appearance and feel of your vintage chair. Consider durability, texture, and color when selecting your material. Opt for upholstery fabric that complements the chair’s design and matches your decor. Fabrics like cotton blends, leather, and velvet offer both durability and style, making your revamped chair not only a work of art but also a practical piece of furniture.
Measuring and Cutting 101
Once you’ve fallen in love with a fabric, measuring and cutting ensue. First, accurately measure your chair’s dimensions, adding a few inches to each measurement for a comfortable margin. Cutting the fabric requires precision—sharp scissors and a steady hand ensure clean lines that will fit snugly around your chair’s contours.
Fabric Patterns and Alignment
Working with patterned fabric? The alignment plays a crucial role in the final look. Strive for symmetry and continuity, especially on visible areas like the chair back and seat. The extra effort in aligning patterns elevates the professionalism and aesthetic appeal of your vintage chair revamp.
Pre-treatment of Fabrics
Pre-treating your fabric can significantly extend the life of your revamped chair. Fabric pre-treatment involves applying a protective layer that guards against stains and wear, ensuring your chair remains stunning for years to come. Follow the fabric manufacturer’s instructions for the best results.
Ready for a Transformation
With the right fabric selected, measured, cut, and pre-treated, you’re now poised to move on to the exhilarating phase of reupholstering your chair. The preparatory steps we’ve covered are crucial; they lay the groundwork for a smooth, successful transformation. Soon, your vintage chair will showcase your unique flair and become a cherished piece in your home.
Remember, revamping a vintage chair is not just about the end product; it’s about the journey. From choosing the fabric that speaks to you, to measuring, cutting, and aligning it just so, every step contributes to creating a piece that’s uniquely yours. So, dive in with enthusiasm—the results are sure to be rewarding.
Lesson 3

Reupholstering and Adding Finishing Touches to Your Vintage Chair
Revamping your vintage chair with fresh fabric is a creative journey that culminates in the art of reupholstering. This final stretch is where your chair begins to embody the new look you’ve envisioned, transforming into a piece that not only enhances your decor but also tells a story. Let’s embark on this crucial phase with precision and a touch of creativity.
Attaching Your New Fabric
The process of attaching your newly selected fabric is both thrilling and demanding. Begin by laying the fabric smoothly over the section of the chair you’re working on, ensuring there are no wrinkles or misalignments. Use a staple gun to secure the fabric to the frame, starting from the center and working your way outwards. The key here is to maintain even tension to avoid any sags or puckers.
Ensuring a Smooth and Tight Fit
Your vintage chair deserves a flawless finish. For areas with curves or corners, such as the chair arms or back, patience and careful manipulation of the fabric are paramount. Trim any excess fabric, leaving just enough to tuck and fold neatly. Staples should be placed strategically, concealed within creases or underneath the chair to maintain its aesthetic appeal.
Reassembling Your Chair
With the fabric securely in place, reassembling your chair marks the coming together of all your efforts. This phase is a validation of the skill and dedication invested in the project. As you reattach the legs, backrest, or any other components removed during disassembly, revel in the transformation that’s unfolded before you.
Final Touches
Your reupholstered vintage chair is nearly complete, but a few final touches can enhance its charm and longevity. Consider applying a fabric protector spray to guard against stains and wear. Accessorize with complementary pillows or throws that accentuate your chair’s new fabric. Finally, a gentle cleaning ensures your chair is ready to make its debut in your home.
| Reupholstering Step | Description |
|---|---|
| Attach Fabric | Staple fabric smoothly over the chair frame. |
| Smooth Fit | Ensure even tension and trim excess fabric. |
| Reassemble | Put the chair pieces back together. |
| Final Touches | Accessorize and protect your newly upholstered chair. |
Revamping a vintage chair is an endeavor that marries craftsmanship with creativity. Each step, from selecting your fabric to the final touches, is integral to achieving a work of art that reflects your unique style. As you stand back and admire your transformed chair, take pride in the journey you’ve undertaken. Your revitalized vintage chair, now vibrant with fresh fabric, stands as a testament to the power of transformation and the endurance of beauty.
Revamping a vintage chair with fresh fabric is not only about transforming an old piece of furniture but also about embedding a piece of your character into something tangible and functional. Throughout this course, we’ve journeyed together from selecting the right vintage chair, through the intricacies of choosing and preparing the fabric, to the satisfying process of attaching the fabric and giving our chairs those final touches that make them stand out. What you have now is more than just a piece of furniture; it’s a story, a piece of art, and a testament to the skills you’ve honed through this course. Don’t forget to take the 10-question quiz below to test your knowledge and ensure you’re ready to take on your next revamping project with confidence.
Test Your Knowledge With this short Quiz
Click here to copy your score to share on facebook!