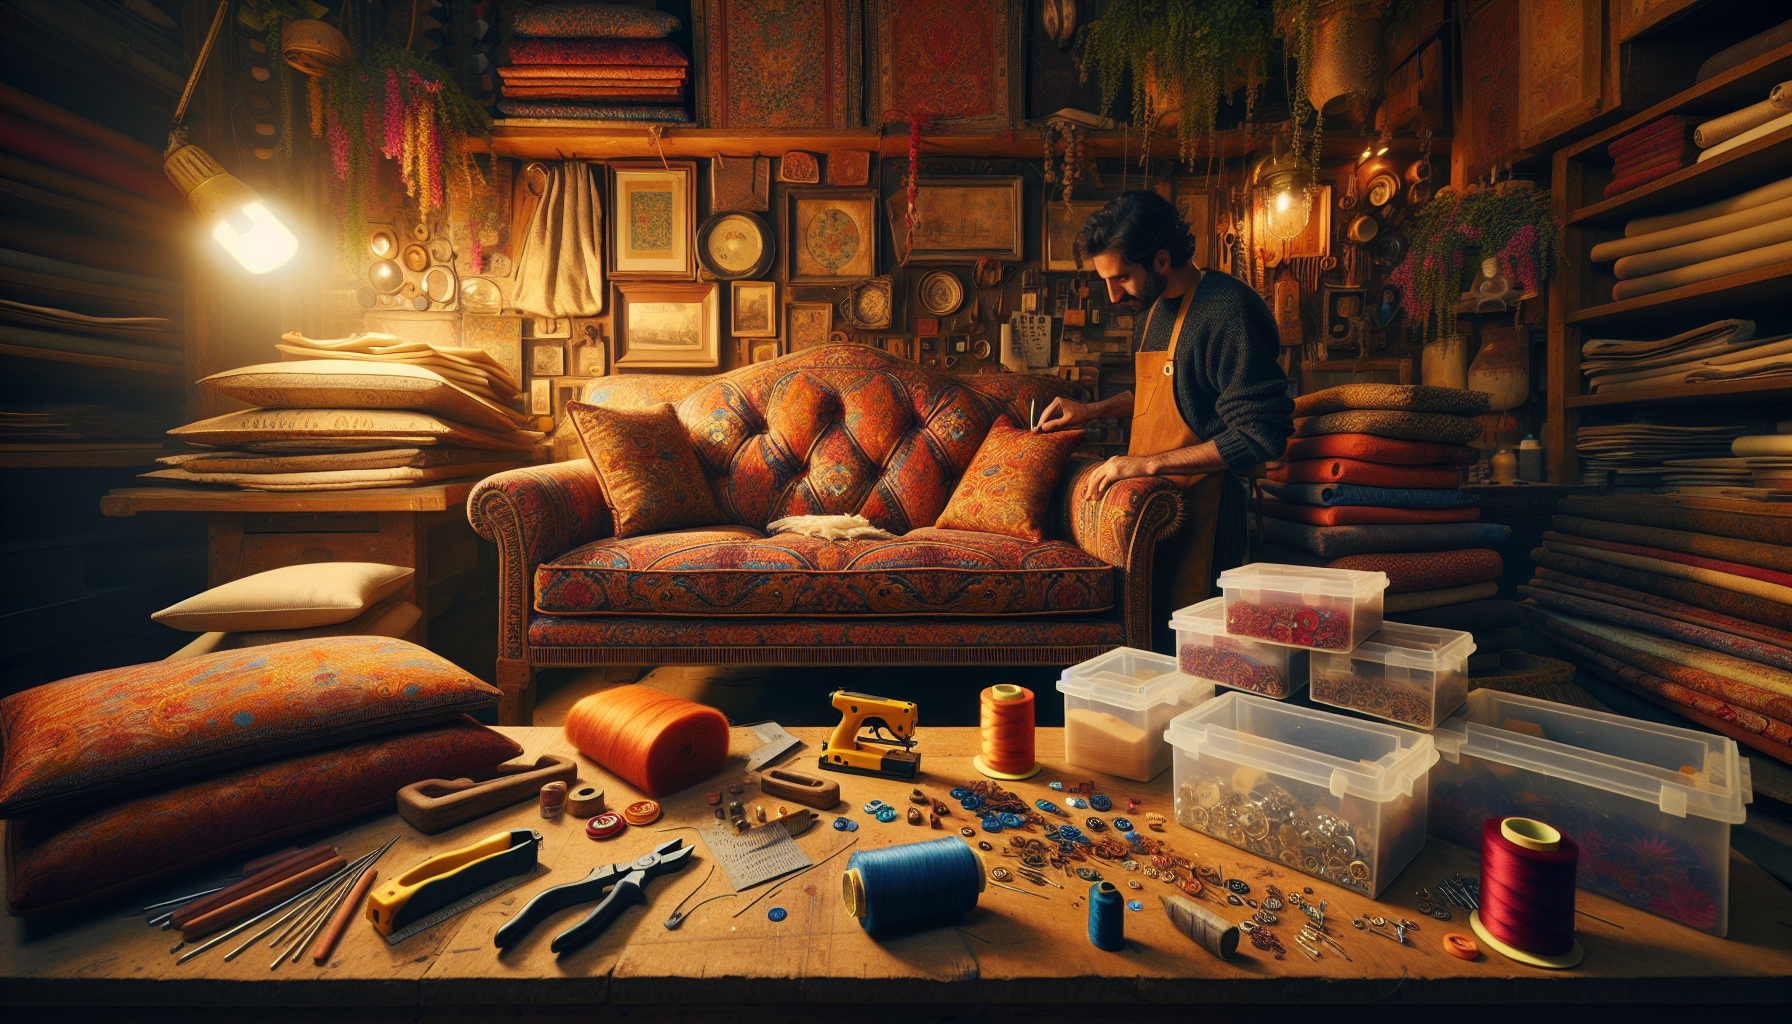
Reviving an old wooden chair is an art that marries creativity with craftsmanship. This course, designed for enthusiasts and DIYers alike, offers a comprehensive guide to restoring the beauty and function of wooden chairs that have seen better days. From assessing the chair’s condition and preparing for restoration, to cleaning, repairing, and applying finishing touches, each lesson is crafted to provide you with the skills needed to transform a neglected piece into a cherished heirloom. Join us as we embark on a journey of discovery, learning not only the practical steps but also the joy of giving new life to an old wooden chair.
Lesson 1

Reviving Your Old Wooden Chair: Preparation and Assessment
Ever looked at an old wooden chair and imagined the stories it could tell if only it were brought back to life? Reviving an old wooden chair is not just a labor of love but a tribute to craftsmanship. In this guide, we’ll embark on the first step of breathing new life into your cherished piece. Understanding the preparation and assessment phase is crucial. So, let’s dive in, keeping our main SEO keyword, reviving old wooden chair, in mind.
Gathering Your Tools and Materials
Before starting, it’s essential to have the right tools and materials on hand. You’ll need:
- A soft cloth and mild cleaner for dusting.
- Fine-grit sandpaper for smoothening out rough patches.
- Wood glue and clamps for any necessary repairs.
- Paintbrushes or rollers, should you decide to repaint or stain.
Remember, the right preparation ensures a smoother restoration process, making reviving your old wooden chair more enjoyable.
Identifying the Chair’s Type and Condition
Examine your chair. Identify not just its style and era but also pay close attention to its condition. Look for signs of wear and tear, such as loose joints or cracked wood. Understanding the extent of damage is key to effectively reviving an old wooden chair. Moreover, recognizing the chair’s type can help in researching specific restoration techniques relevant to its era.
Setting Up Your Workspace
Choose a well-ventilated area to work in. Whether it’s a garage space or an outdoor area, ensure it’s free from dust and properly lit. Your workspace plays a significant role in the restoration process, impacting not just the outcome but also your health while reviving your old wooden chair.
Maintaining Safety Measures
Safety comes first. Make sure to wear protective gear, including gloves, masks, and safety glasses, especially if working with chemicals or power tools. Reviving an old wooden chair should be a fulfilling project, not one that compromises your wellbeing.
In conclusion, laying the groundwork through thorough preparation and assessment is the foundation of any successful restoration project. By gathering the necessary tools, assessing the chair’s condition, setting up an appropriate workspace, and adhering to safety measures, you’re well on your way to reviving your old wooden chair. Stay tuned for the next steps in this journey, where we’ll delve into cleaning, repairing, and bringing that chair back to its former glory.
Lesson 2

Cleaning and Repairing Your Old Wooden Chair
Reviving an old wooden chair can transform it from a forgotten item into a prized possession. The journey of restoration continues with the crucial steps of cleaning and repairing. Ensuring that every inch of the chair is attended to meticulously not only enhances its appearance but also preserves its integrity. Let’s delve into how you can give your old wooden chair the care it deserves.
Thorough Cleaning Process
Begin with a gentle cleaning to remove dust and grime accumulated over the years. Using a soft cloth and a mild cleaner, wipe down every surface of your chair. For tougher stains, you might consider a slightly more potent solution, but always test it on a small, inconspicuous area first. Remember, reviving an old wooden chair requires patience and attention to detail.
Stripping and Sanding
If your chair has an old paint or varnish that you wish to remove, stripping comes next. Choose a stripper suitable for the type of finish on your chair, apply it according to the instructions, and remove the old finish. After stripping, sanding is crucial. Start with a medium-grit sandpaper and work your way up to a fine-grit to achieve a smooth surface. This not only prepares it for a new finish but also brings out the natural beauty of the wood.
Addressing Repairs
Loose joints and cracks are common in old wooden chairs and addressing these issues breathes new life into the piece. Glue is often all that’s needed for loose joints. Apply wood glue, clamp it securely, and allow it to dry. Small cracks can be filled with wood filler. For parts that are beyond repair, consider replacing them with pieces that match the original as closely as possible.
Applying the New Finish
Once your chair is clean, sanded, and repaired, it’s time to apply a new finish. Whether you choose paint or stain, apply it with a clean brush, following the grain of the wood. Multiple light coats will often yield the best results, allowing adequate drying time between each coat.
Reviving an old wooden chair not only preserves a piece of history but also allows you to express your creativity. Through cleaning, repairing, and refinishing, you can transform a neglected chair into a work of art that tells its own unique story.
Lesson 3

Adding the Finishing Touches to Your Old Wooden Chair
Bringing your old wooden chair back to its former glory involves more than just fixing and cleaning; it’s about adding those final touches that truly make it shine. The finishing stage is where you get to enhance its beauty and ensure its longevity. With our focus firmly on reviving an old wooden chair, we’ll explore how to choose and apply the right finish to make your chair not only look beautiful but also stand the test of time.
Choosing the Right Finish
Choosing the right finish for your chair is paramount. Think about the look you want to achieve and how the chair will be used. For a natural look, a clear wood sealant or oil might be just what you need. If you’re aiming for something more vibrant, consider a stain or paint. Remember, the type of finish you choose will affect both the appearance and durability of your restored masterpiece.
Preparation for Finishing
Before applying your chosen finish, ensure the chair is impeccably clean and any previous finish is completely removed. Sanding your chair smoothly is key to a flawless finish. Wipe it down with a tack cloth to remove any residual dust. This preparatory step ensures that the finish adheres correctly and lasts longer.
Applying the Finish
Applying the finish requires patience and attention to detail. Always follow the manufacturer’s instructions for the best results. If you’re using paint or stain, applying it with a brush in the direction of the wood grain ensures a smooth, streak-free appearance. For sealants or oils, a cloth can be used to rub the finish into the wood, enhancing its natural beauty. Allow adequate drying time between coats, and don’t forget to ventilate your workspace well.
Protective Topcoat Application
To safeguard your hard work and keep your chair looking great for years to come, applying a protective topcoat is essential. This could be a polyurethane varnish for painted chairs or furniture wax for stained ones. The topcoat will protect against scratches, water damage, and the wear and tear of everyday use.
Reviving an old wooden chair is a rewarding endeavor that breathes new life into a piece of furniture that might otherwise be overlooked. By carefully selecting and applying the right finish, you not only enhance its beauty but also preserve its history and character for the future. It’s these final touches that transform your restoration project from a simple hobby to a heartfelt preservation of craftsmanship.
Reviving an old wooden chair through this comprehensive course has equipped you with the knowledge and skills to tackle restoration projects with confidence. We’ve covered everything from initial assessment and preparation to detailed cleaning, repairing, and the application of finishing touches. By now, the transformation of a neglected chair into a stunning piece of furniture should not only feel achievable but exciting. As a final step to test your understanding and readiness to embark on your own restoration adventures, a 10 question quiz awaits below. This quiz is designed to consolidate your learning and ensure you’re fully prepared to breathe new life into old wooden chairs.
Test Your Knowledge With this short Quiz
Click here to copy your score to share on facebook!